

Prerequisites
- CometChat app (App ID, Region, Auth Key).
- Chat Widget variant (will produce a Widget / Variant ID).
- A running Mastra agent endpoint (public or tunneled URL).
- Mastra Agent ID (e.g.
chef) and any required API key(s). - (Optional) Frontend Action definitions if you want UI‑bound behaviors.
Step 1 - Create / Verify Your Mastra Agent
Have a Mastra project ready (example using the “Chef” agent):Minimal example (tools + agent)
Minimal example (tools + agent)
Local run & test
Local run & test
- Agent ID (e.g.
chef) - Base URL (e.g.
http://localhost:4111/apior public tunnel)
Step 2 - Deploy / Expose Your Agent
Choose one path so the Dashboard & Widget can reach your Mastra endpoint.Option A: Quick tunnel (development)
Option A: Quick tunnel (development)
Install a tunnel & expose port 4111 (pick one):Copy the public HTTPS URL (e.g.
https://abc123.ngrok.io) – this becomes your Deployment URL.Option B: Vercel serverless (Edge/Node)
Option B: Vercel serverless (Edge/Node)
Project structure (excerpt):Example handler:Deploy:Use the deployed base URL (e.g.
https://your-app.vercel.app/api).Option C: Docker container
Option C: Docker container
Add a simple Express server & Dockerfile:Build & run:
Optional: Security hardening
Optional: Security hardening
- Add an auth layer (Bearer token) that the Dashboard/Widget includes.
- Enable basic rate limiting (e.g. 60 req/min per IP).
- Log tool invocations (duration + errors) for observability.
For fastest iteration start with a tunnel, then move to serverless or container for staging/production.
Step 3 - Configure in CometChat
1
Open Dashboard
Open the CometChat Dashboard.
2
Navigate
Go to your App → AI Agents.
3
Add agent
Set Provider=Mastra, Agent ID=
chef, Deployment URL=public base URL from Step 2.4
(Optional) Enhancements
Add greeting, starter prompts, or map frontend actions/tools for richer UI.
5
Enable
Save and ensure the agent toggle shows Enabled.
Step 4 - Attach Agent in UI Kit Builder (No‑Code)
1
Open UI Kit Builder
Launch UI Kit Builder from the Dashboard.
2
Select or create variant
Choose an existing Widget Variant or create a new one.
3
Enable agent
In the AI / Agents panel toggle on your Mastra agent.
4
(Optional) Identity
Set display name & avatar so users recognize the agent.
5
Save variant
Save to persist the agent attachment.
Step 5 - Frontend Actions & Tools (Optional)
1
Define actions
In Dashboard add actions (name + optional schema) that represent UI behaviors.
2
Map to tools
Ensure Mastra tool
id matches the action name for invocation context.3
Handle on frontend (optional)
Implement handlers in custom UI or rely on widget defaults when available.
Step 6 - Customize in UI Kit Builder
1
Open variant
From AI Agents click the variant (or Get Started) to enter UI Kit Builder.
2
Customize & Deploy
Select Customize and Deploy.
3
Adjust settings
Theme, layout, features; ensure the Mastra agent is attached.
4
Preview & Save
Use live preview to validate responses and appearance, then save.
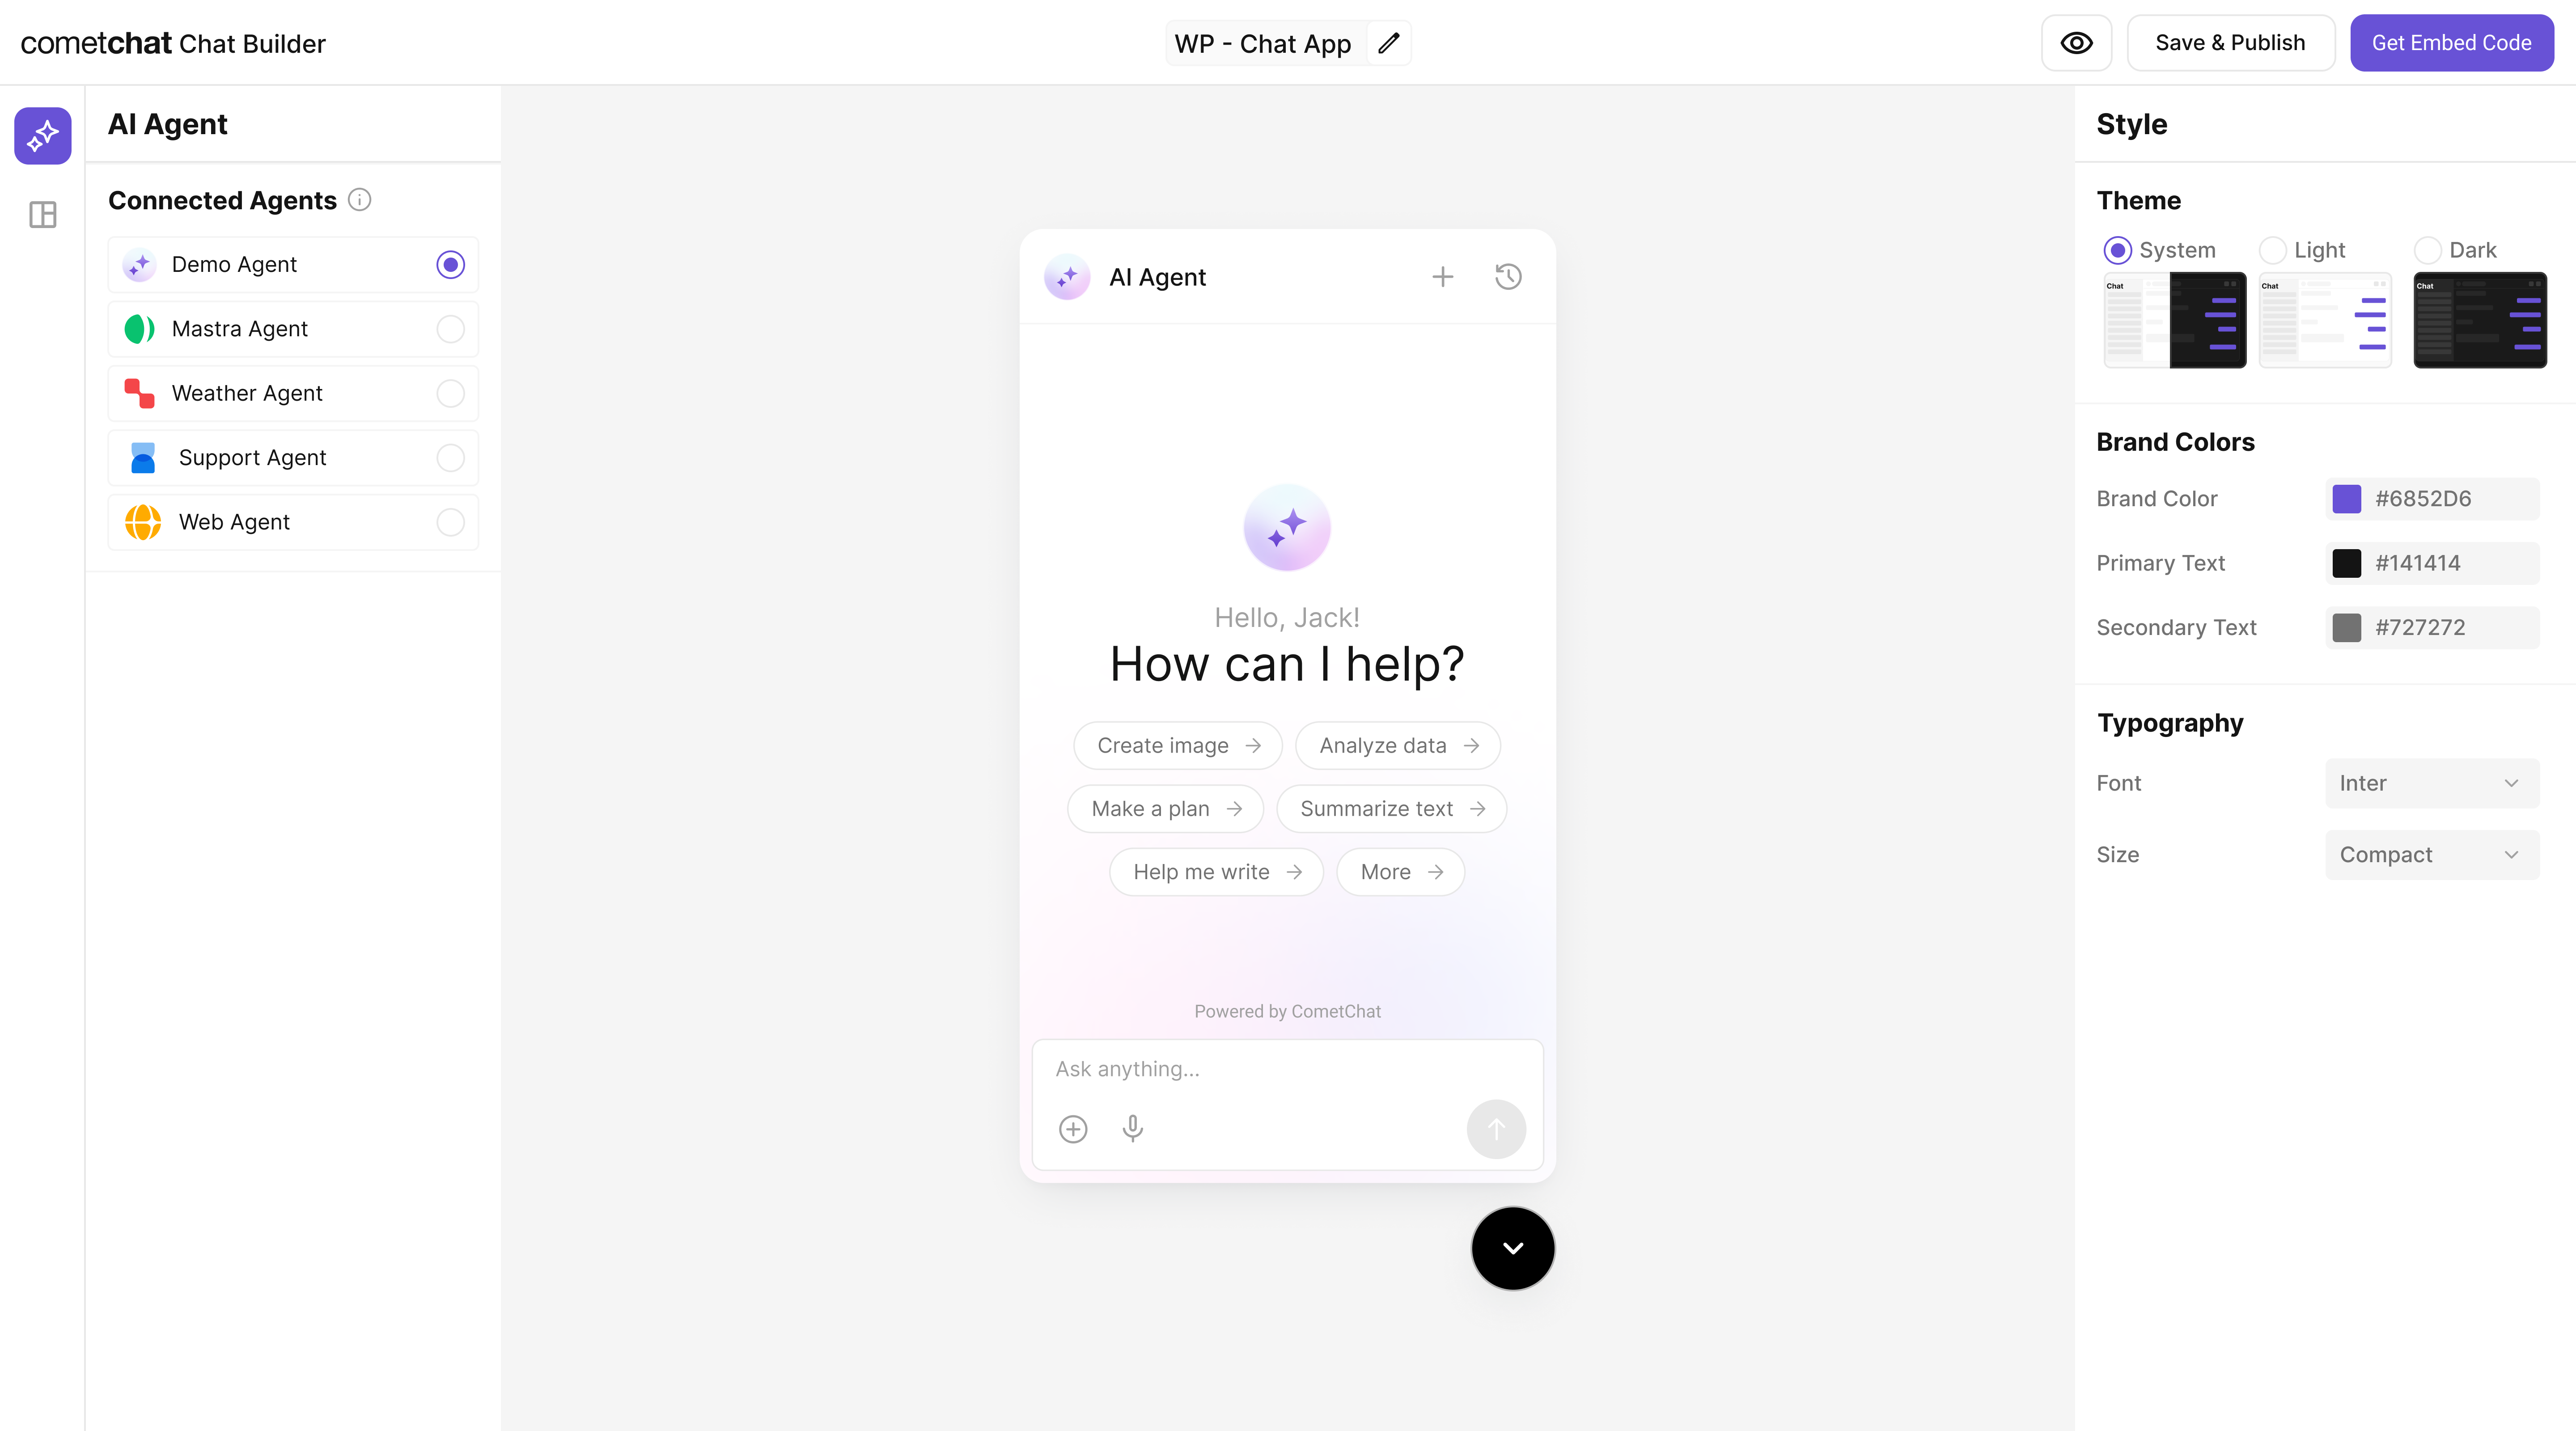
Step 7 - Export & Embed
In UI Kit Builder click Get Embedded Code → copy credentials:- App ID
- Auth Key
- Region
- Variant ID
1
Include script (<head>)
Add script tag in document head (see snippet below).
2
Initialize (<body> end)
Add mount div + init script before closing body.
Replace placeholders (<YOUR_APP_ID>, etc.) with real values.
Step 8 - Verify
If responses fail, confirm the endpoint is publicly reachable and the Agent ID matches the Dashboard configuration.
Troubleshooting
Next Steps
- Add more tools (search, summarization, domain knowledge).
- Introduce Frontend Actions for richer UI control.
- Move from tunnel to production deployment.
- Add analytics / observability (latency, error tracking).