

User Interface Preview
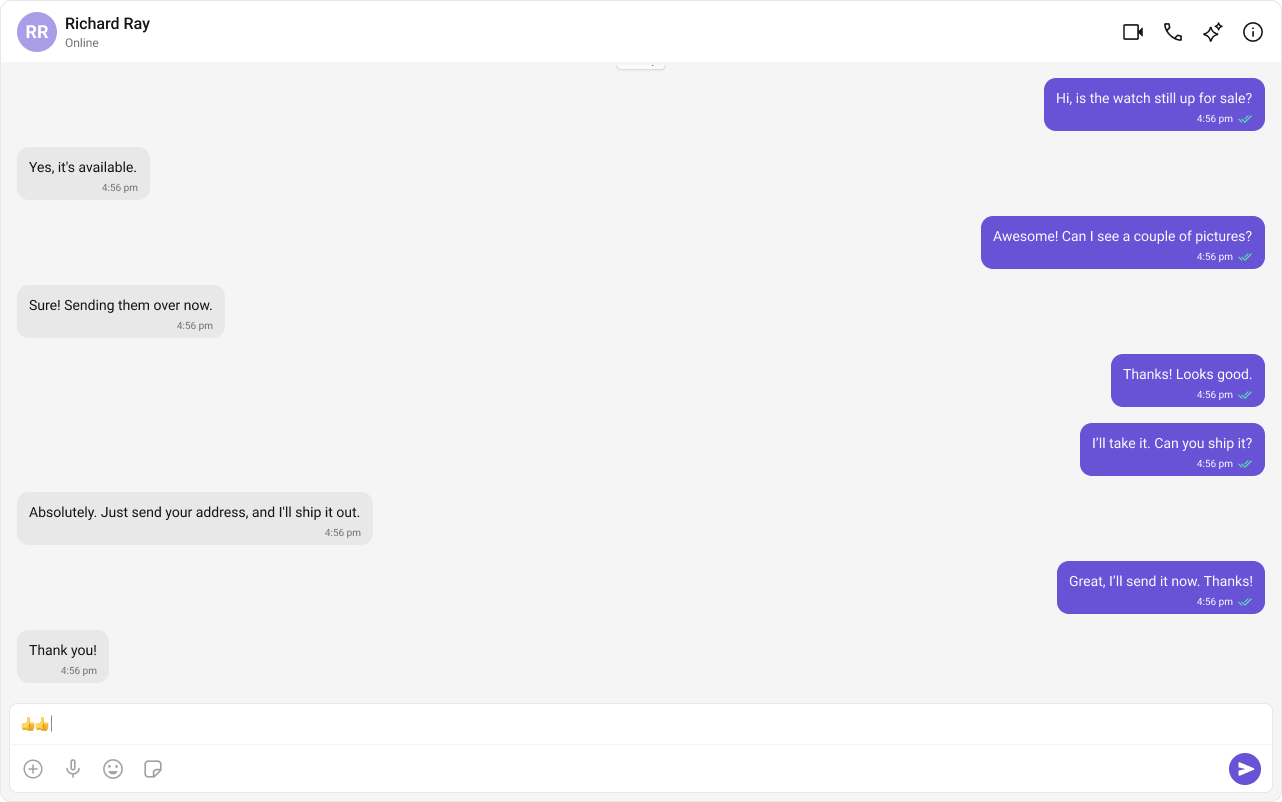
Key Components
- Chat Header – Displays recipient details and optional call/video call buttons.
- Message View – Shows real-time chat history.
- Message Input Box – Enables users to send messages, media, and reactions.
Step-by-Step Guide
Step 1: Implement the Chat Header
- Display profile picture, name, and online status.
- Add voice and video call buttons (optional).
Step 2: Build the Message View
- Load chat history and real-time messages.
- Ensure smooth scrolling and timestamp visibility.
Step 3: Add the Message Composer
- Include a text input field.
- Support media uploads, file attachments, emojis, and reactions.
Implementation
Now we will create theCometChatNoSSR.tsx & CometChatNoSSR.css files. Here, we will initialize the CometChat UI Kit, log in a user, and build the messaging experience using CometChatMessageHeader, CometChatMessageList, and CometChatMessageComposer components.
- TypeScript
- CSS
CometChatNoSSR.tsx
Fetching a User (One-on-One Chat)
Fetching a Group (Group Chat)
Step 4: Disable SSR and Render the CometChat Component
Create a file CometChat.tsx inside the routes folder:Why disable SSR? CometChat UI Kit Builder relies on browser APIs such as window, document, and WebSockets. Since React Router renders on the server by default, disabling SSR for this component prevents runtime errors.
Step 5: Update App CSS
Next, add the following styles to app.css to ensure CometChat UI Kit is properly styled.app.css
Step 6: Run Your Application
-
Start the development server
- Verify the chat interface
- In your browser, navigate to the
/chatroute(e.g., http://localhost:3000/chat). - Confirm that the chat experience loads as expected.
Next Steps
Enhance the User Experience
- Advanced Customizations – Personalize the chat UI to align with your brand.