

Before getting started
Go through the overview to set up Chat Widget from the CometChat Dashboard. Once you’ve created a widget, as shown in the image below.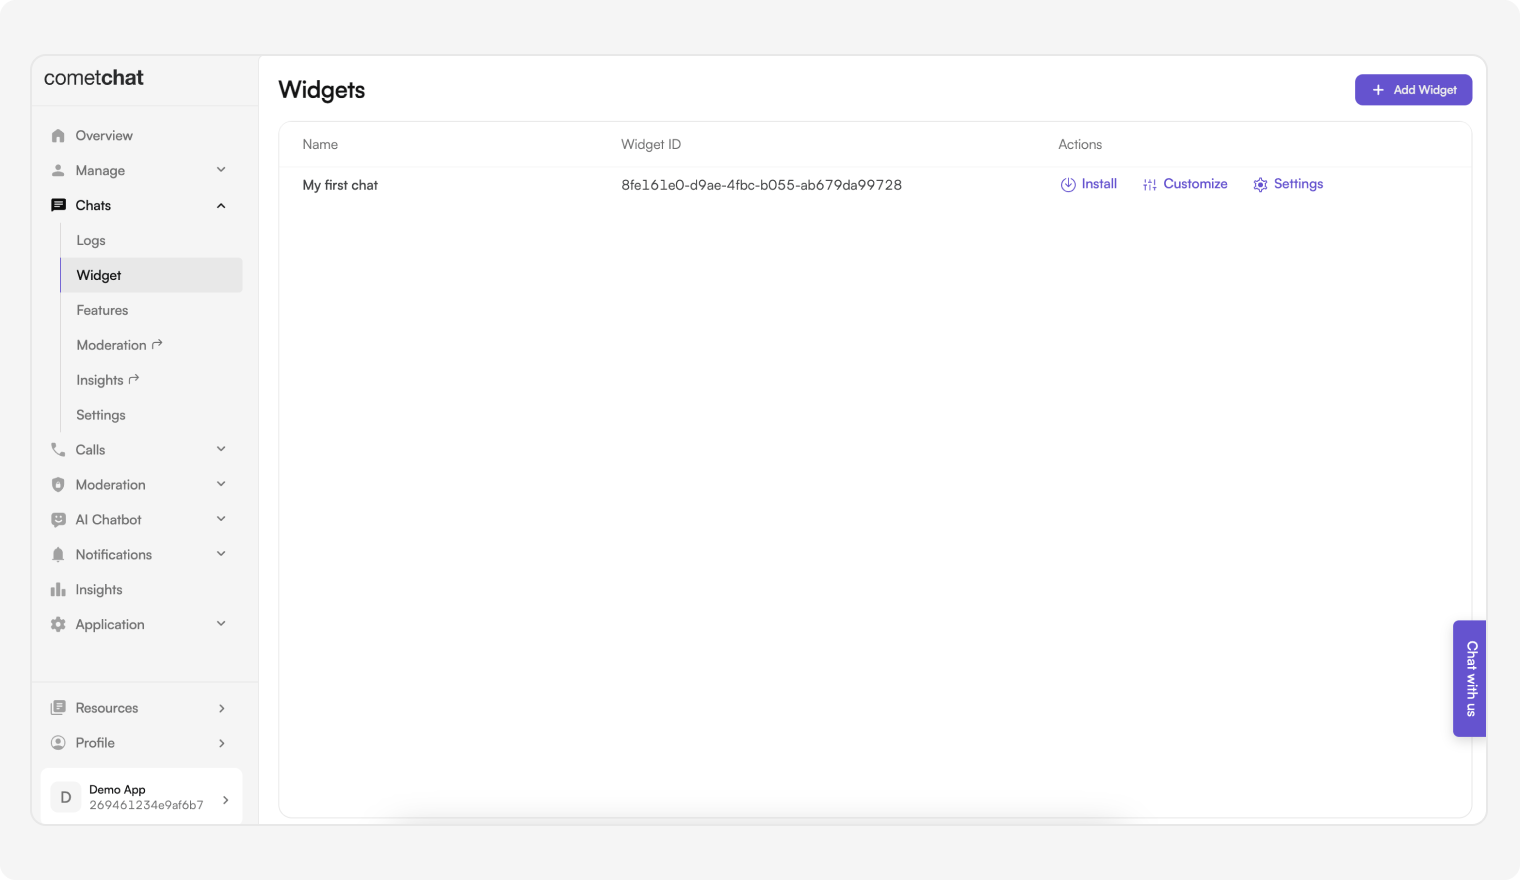
- Embedded Layout
- Docked Layout
Embedded Layout
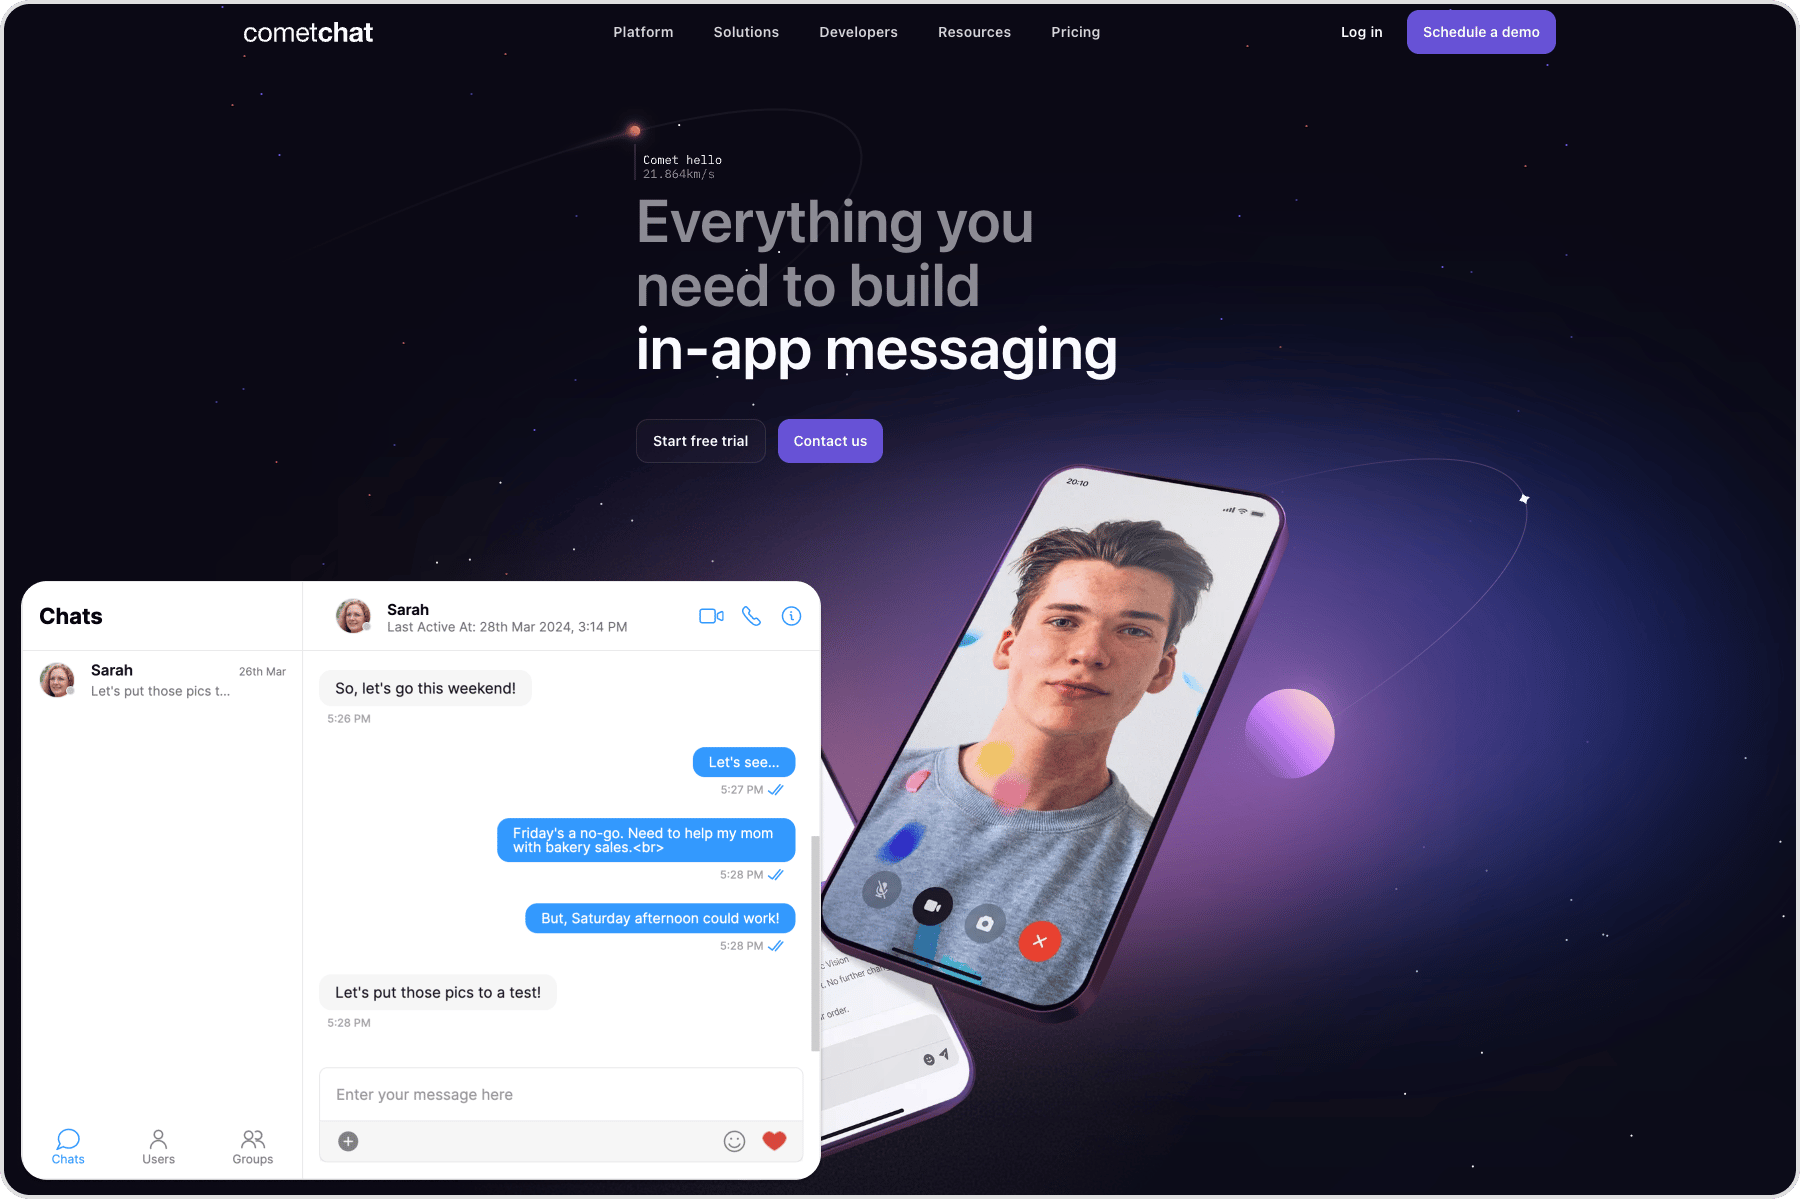
- HTML
launch method with the following keys:
Docked Layout
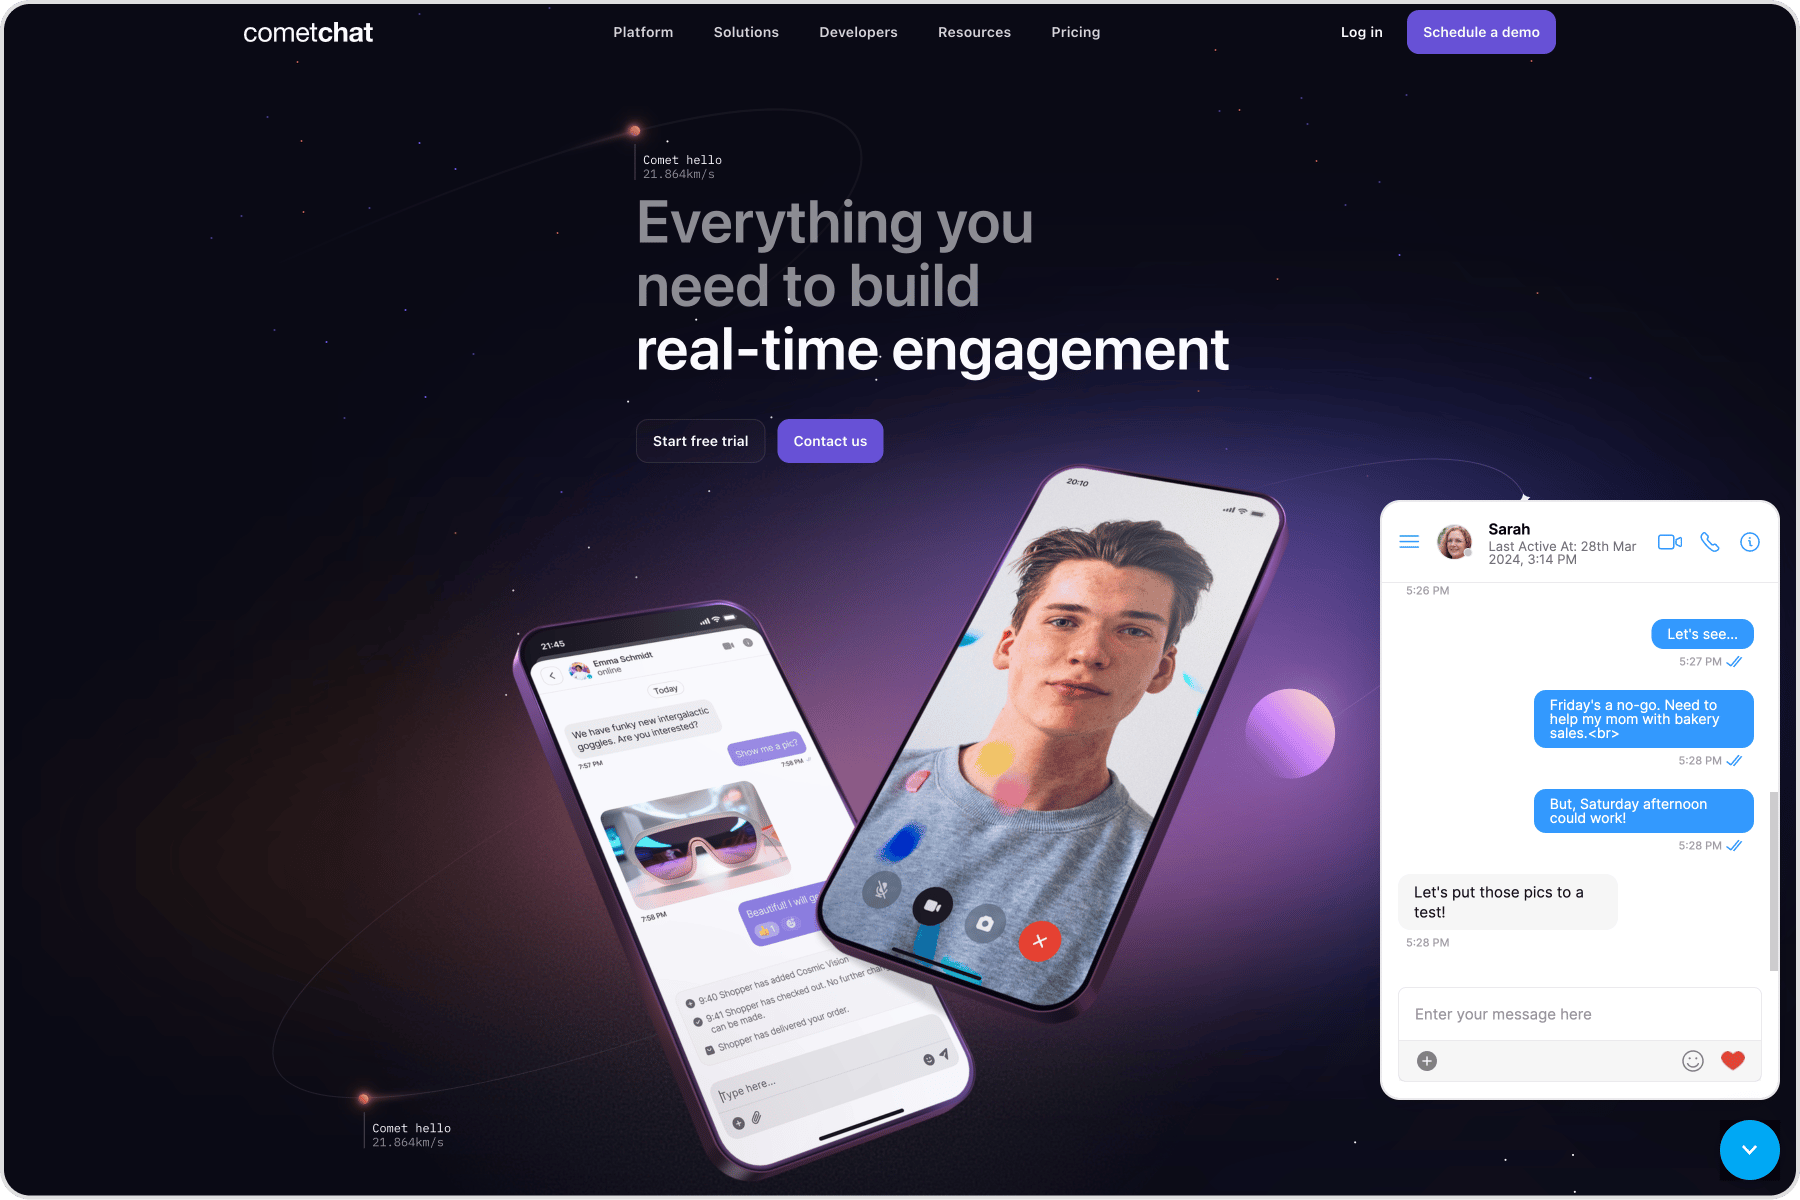
- HTML
Please note that the above execution is taking place on
DomContentLoaded event fired by the window object. You can break down these steps on different events of your choice to have a more controlled flow of initializing and launching the Chat Widget.
As mentioned earlier, this launch method can be called multiple times. By modifying the keys in the above configuration object.
Make sure you specify a different and unique
target if you intend to launch another instance of Chat Widget.Advanced Features
Open or close chat window
Chat window of docked layout can be opened/closed using the below method. This method can be triggered on the click event of any element of your webpage.- JavaScript
Chat with a particular user
This method will open a particular user chat window. This method can be triggered by the click event of any element of your webpage.- JavaScript
Chat with a particular group
This method will open a particular group chat window. This method can be triggered by the click event of any element of your webpage.- JavaScript
Initiate calls with a particular user
This method will initiate a call with the user. This method can be triggered by the click event of any element of your web page.- JavaScript
Initiate calls with a particular group
This method will initiate a call with the group. This method can be triggered by the click event of any element of your web page.- JavaScript
Message Listener
We have provided a callback that is fired every time a message is received. You can use this to show Custom Notifications on your website or perform some other custom action as per your requirement.- JavaScript
Chat open state listener
We have provided a callback that is fired every time the docked layout of the chat widget is in an open state. You can use this to perform some custom action as per your requirement.- JavaScript
Chat closed state listener
We have provided a callback that is fired every time the docked layout of the chat widget is in a closed state. You can use this to perform some custom action as per your requirement.- JavaScript
Click listener
We have provided a callback that is fired every time a user or group is clicked on the sidebar. You can use this to perform some custom action as per your requirement.- JavaScript
Localization
With language localization, our Chat Widget adapts to the language of a specific country or region. Chat Widget allows you to detect the language of your users based on their browser settings and set the language of the widget accordingly. Currently, we support the following 12 languages for localization:- English (en, en-US, en-GB)
- Chinese (zh, zh-TW)
- Spanish (es)
- Hindi (hi)
- Russian (ru)
- Arabic (ar)
- Portuguese (pt)
- Malay (ms)
- French (fr)
- German (de)
- Swedish (sv)
- Lithuanian (lt)
- Hungarian (hu)
- JavaScript
User/Group Management
Create a user on-the-fly
This saves you the hassle of creating users beforehand from the CometChat Pro Dashboard. In order to create a user on-the-fly, you can call thecreateOrUpdateUser() method on the CometChatWidget class.
It might happen that the user already exists. In that case, this method updates the user details. It can be used to change the user’s name on-the-fly.
The method is as follows:
- JavaScript
Create a group on-the-fly
This saves you the hassle of creating groups beforehand from the CometChat Pro Dashboard. In order to create a group on-the-fly, you can call thecreateOrUpdateGroup() method on the CometChatWidget class.
It might happen that the group already exists. In that case, this method updates the group details. It can be used to change the group’s name and type on the fly.
- JavaScript
User Logout
When your user logs out from the website, you can also log out the user from Chat Widget by calling thelogout() method of the CometChatWidget class.
- JavaScript
Security Measures using Auth Token
If you wish to manage the Auth Key and generate Auth Token from your server application. We recommended you follow the below steps. Please open this document - https://api-explorer.cometchat.com/reference/chat-apis and refer to this Post API call (https://api-explorer.cometchat.com/reference/create-authtoken) to create users and generate Auth token You may then use the generated Auth Token and pass it to the login method below to log in to the user The below code can be copy-pasted to launch your chat widget using Auth Token- Embedded layout
- Docked layout