

User Interface Overview
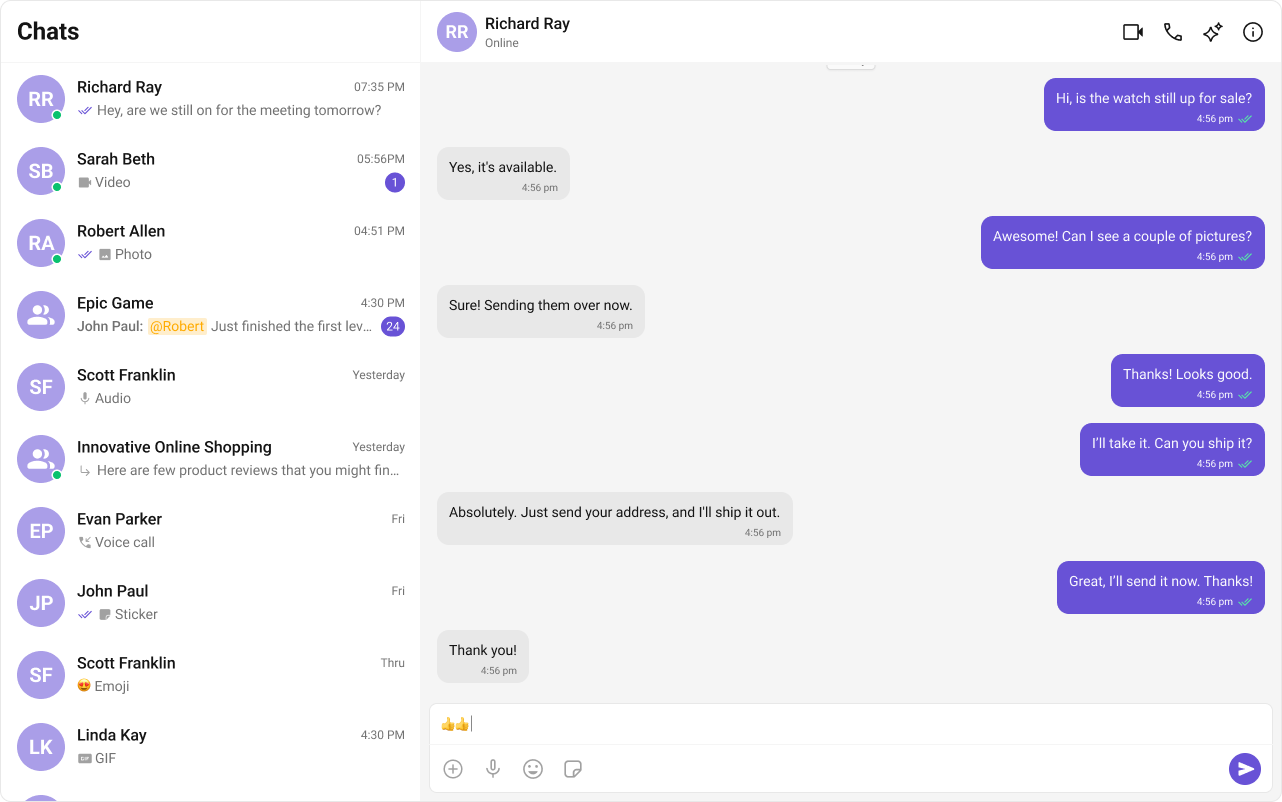
- Sidebar (Conversation List) – Users and groups
- Message View – Real-time messages for the selected conversation
- Message Composer – Input for sending text and media
Prerequisites
- Astro project set up
- React integration added to Astro
- CometChat credentials
1
Create or open an Astro project
- npm
If you already have the sample
astro-conversation project, open it instead.2
Add React and install CometChat UI Kit
.env at the project root:3
Initialize CometChat (src/lib/cometchat-init.js)
Create
src/lib/cometchat-init.js and initialize the UI Kit using environment variables.src/lib/cometchat-init.js
4
Build the React island (src/components/ChatApp.jsx)
Create the island used by Astro to render the two‑panel chat. This component mirrors the sample in
astro-conversation.src/components/ChatApp.jsx
5
Render the page (src/pages/index.astro)
Import the island and styles, then hydrate the component on the client.
src/pages/index.astro
The CSS files
globals.css and cometchat-layout.css are included in the sample. Ensure your layout CSS sets a two‑panel flex container and sizes the sidebar.6
Run and verify
Open your app and verify you can select conversations on the left and exchange messages on the right.
Troubleshooting
Blank screen or hydration error
Blank screen or hydration error
Ensure the component is rendered as a React island (
client:only=\"react\") so it runs only in the browser.Missing credentials error
Missing credentials error
Verify
.env contains PUBLIC_COMETCHAT_APP_ID, PUBLIC_COMETCHAT_REGION, and PUBLIC_COMETCHAT_AUTH_KEY, and restart the dev server after changes.Wrong user logged in
Wrong user logged in
The sample uses
ensureLogin(uid) to switch users by logging out if the active UID differs. Update PUBLIC_COMETCHAT_LOGIN_UID for development.Next Steps
- Customize styles in
src/styles/cometchat-layout.css - Add presence or typing indicators
- Explore themes and component overrides in the UI Kit