

User Interface Preview
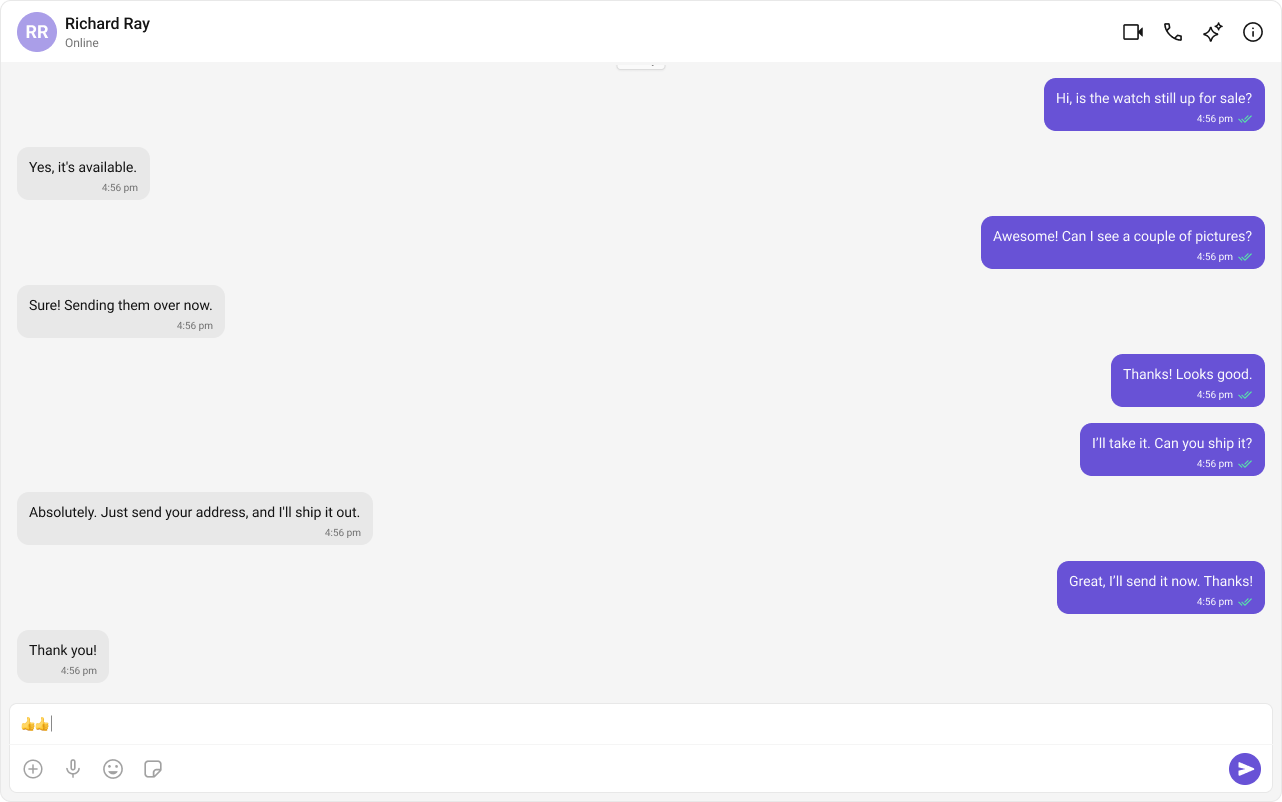
- Chat Header – recipient details and status
- Message View – history and live messages
- Message Composer – text, media, attachments
Prerequisites
- Astro project with React integration
- CometChat credentials in
.env
1
Create or open an Astro project
If you already have the sample
astro-one-to-one-chat project, open it instead.2
Add React and install CometChat UI Kit
.env:3
Initialize CometChat (src/lib/cometchat-init.js)
Create
src/lib/cometchat-init.js used by the island to initialize the UI Kit and handle login.src/lib/cometchat-init.js
4
Build the React island (src/components/OneToOneChat.jsx)
This component initializes CometChat, logs in the desired user, and loads a single peer (user or group) to chat with.
src/components/OneToOneChat.jsx
5
Render the page (src/pages/index.astro)
Import the island and styles, then hydrate on the client.
src/pages/index.astro
6
Run and verify
Set
PUBLIC_COMETCHAT_LOGIN_UID and PUBLIC_COMETCHAT_TARGET_UID then verify messages appear for the selected peer.Switch to Group Chat
To load a group instead of a user, fetch it with the SDK and pass it to the UI Kit components.When switching between user and group, keep only one of
user or group props set at a time.Troubleshooting
Blank screen or hydration error
Blank screen or hydration error
Ensure the component is rendered as a React island (
client:only=\"react\").Missing credentials
Missing credentials
Verify
.env contains PUBLIC_COMETCHAT_APP_ID, PUBLIC_COMETCHAT_REGION, PUBLIC_COMETCHAT_AUTH_KEY, and both PUBLIC_COMETCHAT_LOGIN_UID and PUBLIC_COMETCHAT_TARGET_UID.Wrong user appears
Wrong user appears
The island logs out if a different user session is active, then logs in with
PUBLIC_COMETCHAT_LOGIN_UID.Next Steps
- Add typing indicators and read receipts
- Apply theming and component overrides
- Extend to conversations list + messages or tabbed layout